I purchased a non-working LC II off of eBay. It’s in pretty good shape other than the fact that it does not power on. Dead as a door nail! Most of the time this is because the Power Supply in the system has failed and at this age it is usually due to failed capacitors. If you can desolder and solder basic parts then it’s an easy fix. So I’m going to resurrect this LC II and document it along the way
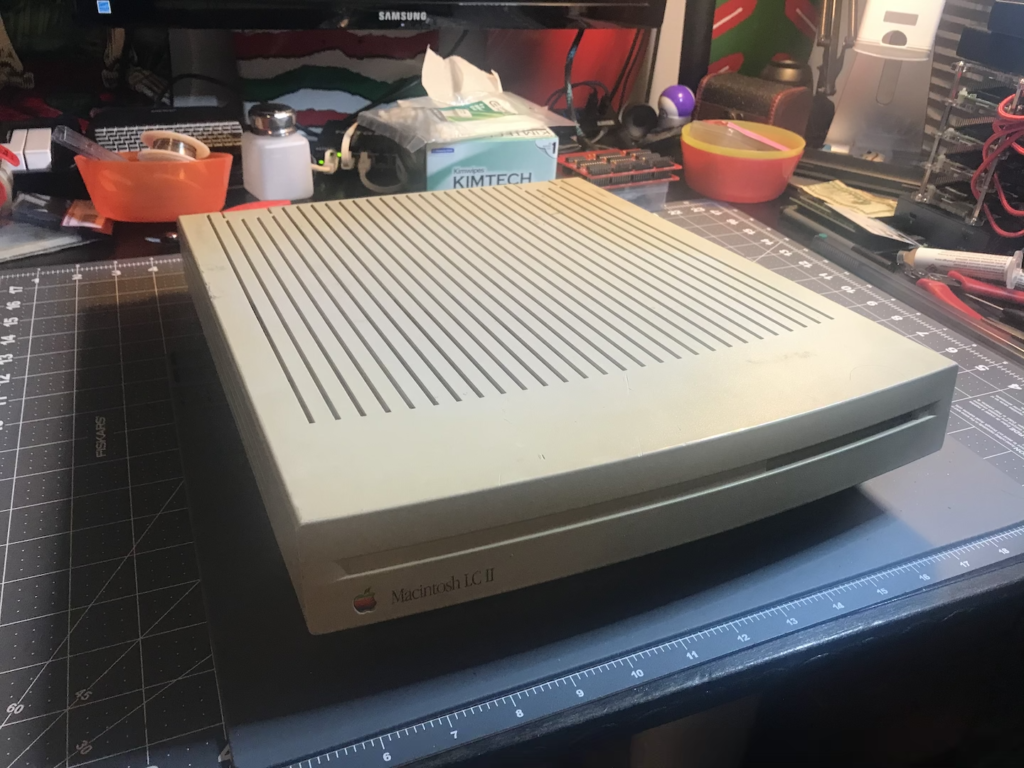
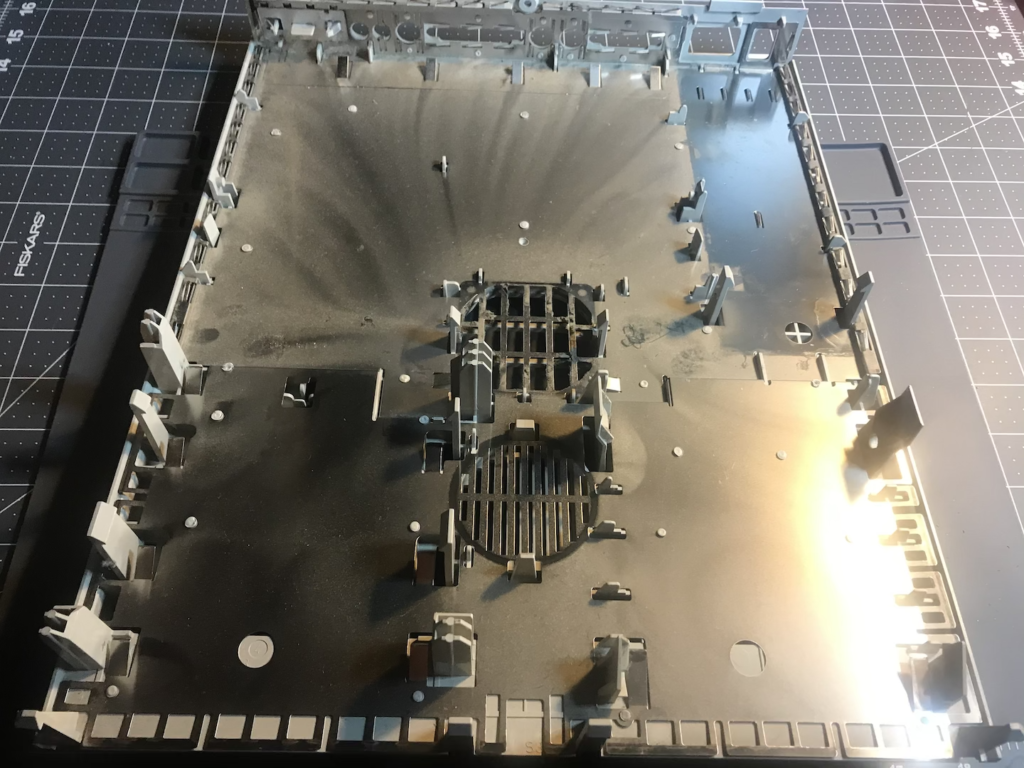
If you haven’t worked on an LC style Mac, they are super easy to take completely apart. The only screw, if the system has it, is the one on the back of the unit that holds the lid on. Mine didn’t. So I was able to go from the above picture to this in about 5 minutes with NO tools.
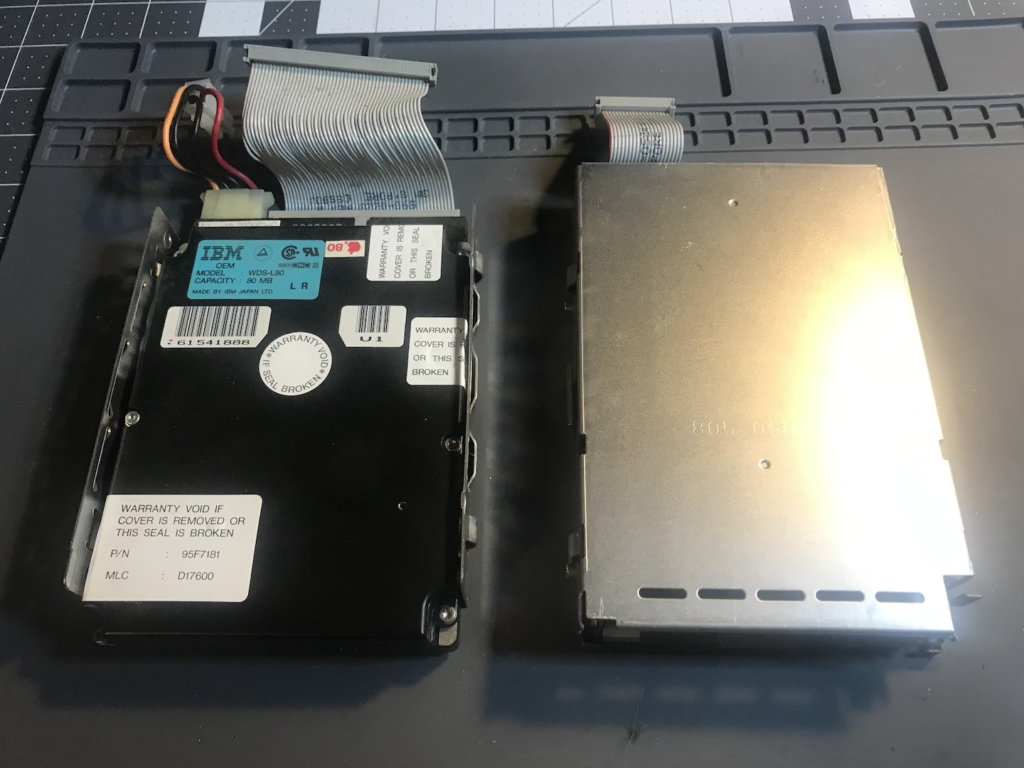
Basically the system breaks down into the case, a logic board, floppy drive, hard drive, fan, speaker, power supply, ROM simm, memory simms if you have it, and the PRAM battery.
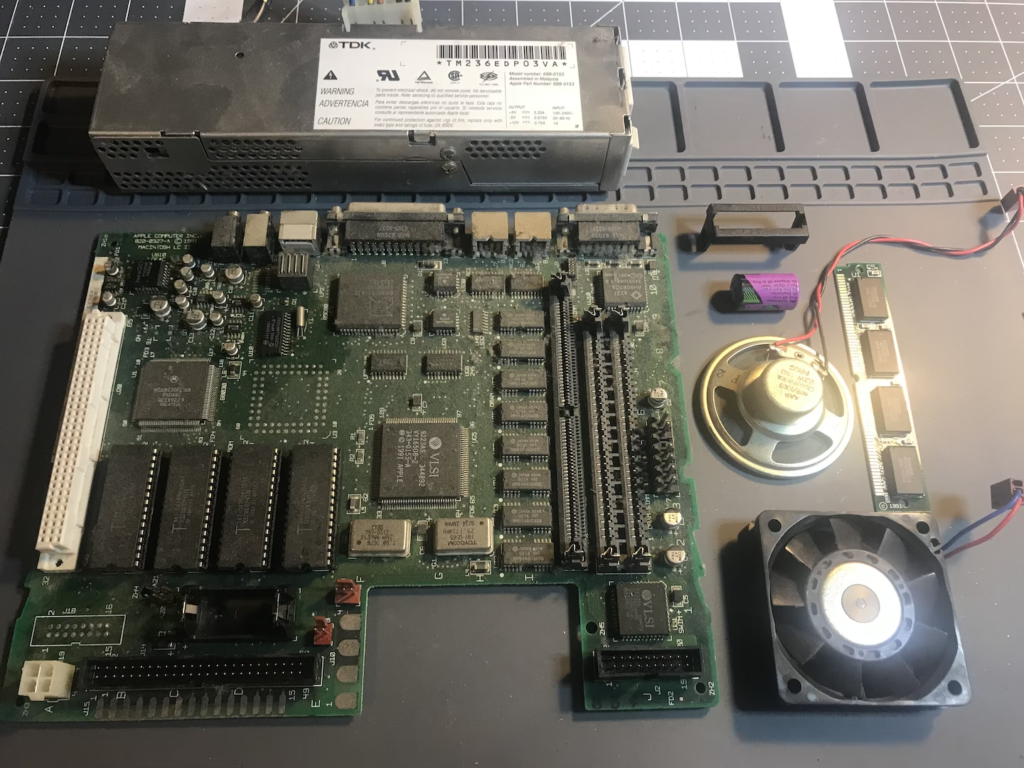
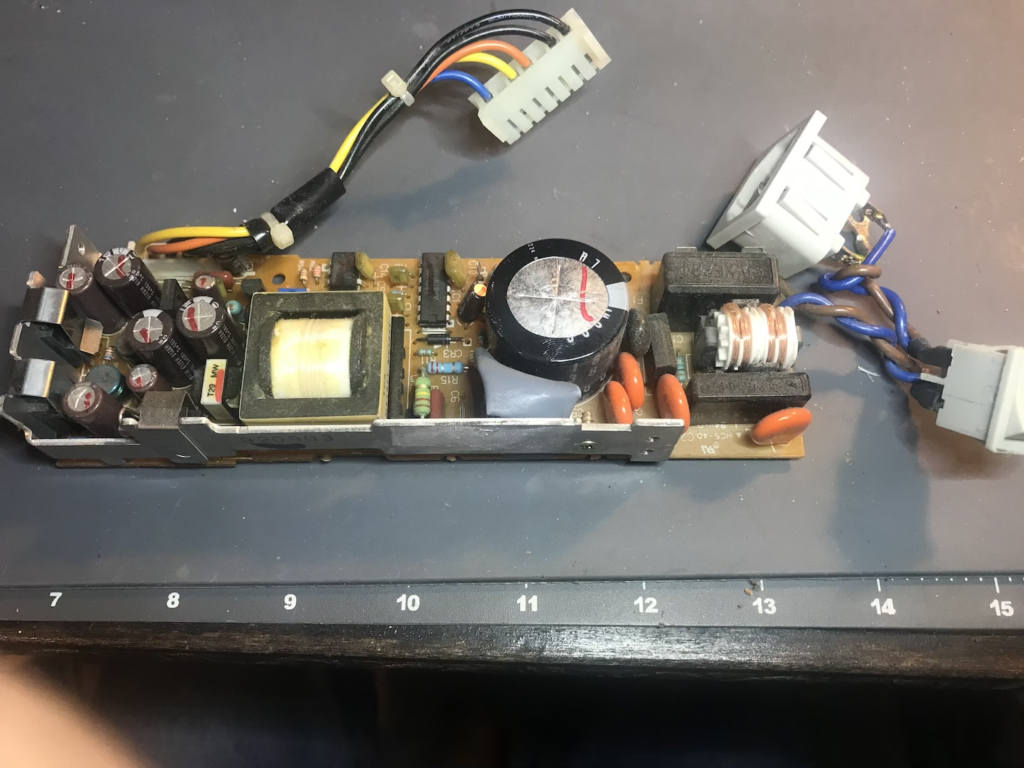
The power supply is the suspect here. So with a screw driver you can take it apart and you’ll see it’s pretty simple. Once it is out of its shell, you have to systematically desolder every capacitor on the board. As I take each one off I write down specs (capacitance, voltage, diameter) for each one as I go. I also clean with alcohol the area on the board where it was and # each spot so when I go to replace them, I know where everything goes. Remember that these capacitors have a + and – side. On the board, the – side is shown with a square around the hole for that pin.
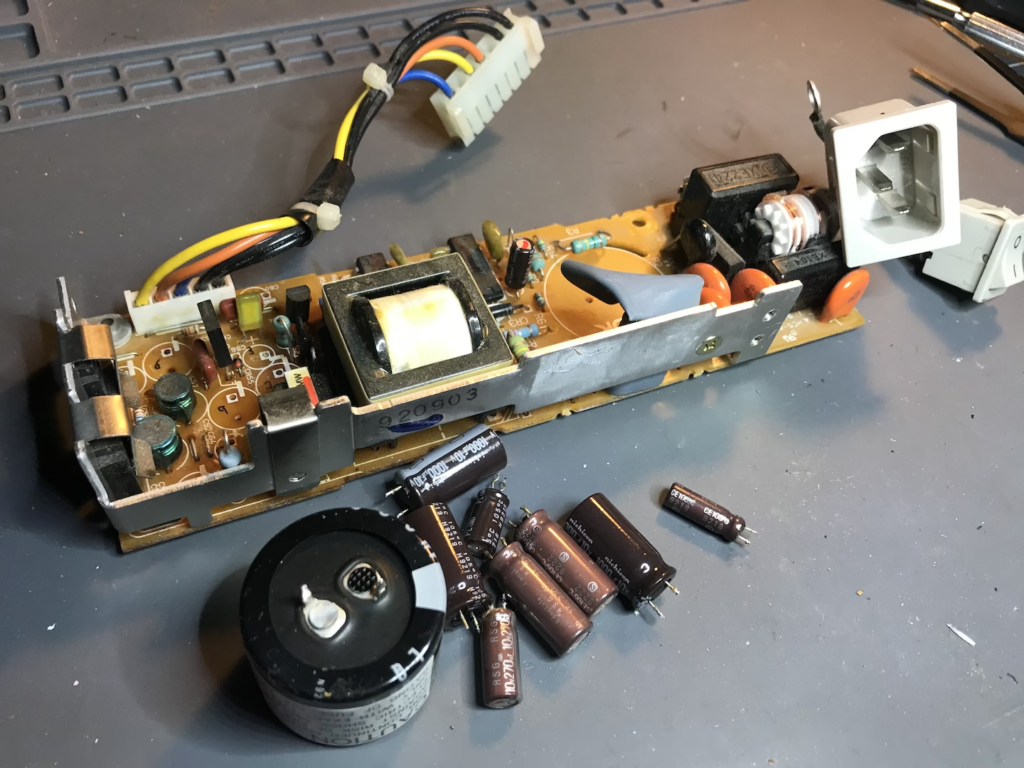
My current place to order parts is Mouser. They have a good filtering system and the ability to save the shopping cart as a Project that can used in the future and shared with people. The following is the list of capacitors (10 in all).
| Mouser # | Mfr. # | Manufacturer | Description | Order Qty. | Price (USD) | Ext.: (USD) |
| 647-LGU2G181MELB | LGU2G181MELB | Nichicon | Aluminum Electrolytic Capacitors – Snap In 400volts 180uF 10mm | 1 | $4.18 | $4.18 |
| 647-UPW1E560MDD | UPW1E560MDD | Nichicon | Aluminum Electrolytic Capacitors – Radial Leaded 25volts 56uF 5×15 20% 2LS | 1 | $0.33 | $0.33 |
| 647-UPJ1E470MED | UPJ1E470MED | Nichicon | Aluminum Electrolytic Capacitors – Radial Leaded 25volts 47uF 6.3×11 20% 2.5LS | 1 | $0.24 | $0.24 |
| 647-UHV1E271MPD | UHV1E271MPD | Nichicon | Aluminum Electrolytic Capacitors – Radial Leaded 25volts 270uF 105c 8×11.5 3.5LS | 2 | $0.50 | $1.00 |
| 647-UPM1A271MED | UPM1A271MED | Nichicon | Aluminum Electrolytic Capacitors – Radial Leaded 10volts 270uF 6.3×15 20% 2.5LS | 1 | $0.30 | $0.30 |
| 647-UPM1A102MPD | UPM1A102MPD | Nichicon | Aluminum Electrolytic Capacitors – Radial Leaded 10volts 1000uF Ultra Small Sz | 3 | $0.61 | $1.83 |
| 710-860160672008 | 860160672008 | Wurth Elektronik | Aluminum Electrolytic Capacitors – Radial Leaded WCAP-ATLL 8.2uF 50V 20% Radial | 1 | $0.17 | $0.17 |
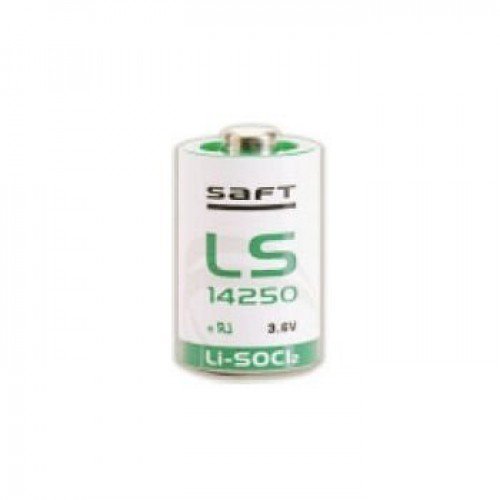
While on the sites I needed to get some batteries too. The PRAM batteries in these older Macs are usually 1/2AA, 3.6V, 900+mAh. I’ve seen the Tadiran (purple, green, black) and I’ve seen Saft (White with green lettering. Right now I’m getting the Saft batteries off of Amazon for about $13 for a 4-pack. You can find them here: https://www.amazon.com/dp/B004UHUGGC
So will I’m waiting for parts to come in, it’s time to clean the case and dust off the components. I do this to clean it up and inspect for any other damage that may be hiding. To clean the lid I just use hot water and a mild detergent. You’ll want a toothbrush to get down into the cracks of the case lid. There are aluminum liners inside the top and bottom pieces. I gently pry these off so as not to get water trapped under them.
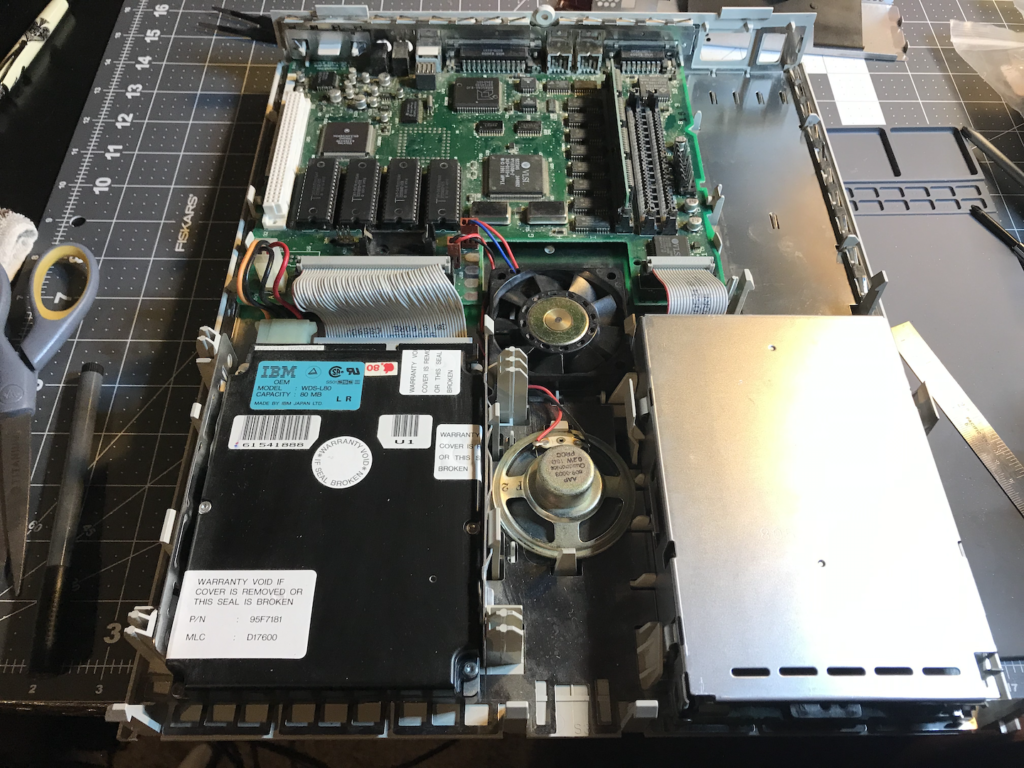
This system has a 512k Video Simm, which is the max it supports. If yours has a 256k simm I would suggest replacing it. This system also has 4mb of RAM on the Logic Board with (2) 30-pin simm slots. I just ordered (2) 4mb simms off of eBay for about $15. While this will bring the system up to 12mb total, it can only address 10mb. So purchasing anything larger is pointless.
Once the capacitors for the Power Supply come in along with the RAM and the Battery, I’ll finish up this article. But for now I’ll publish this for people to start looking at.